.png?height=120&name=full%20logo%20-%20DB%20(1).png)
This guide gives a basic overview of how to configure ADFS and how to determine the settings to integrate with BucketlistRewards.
Step 1 - Configuring a Relying Party Trust
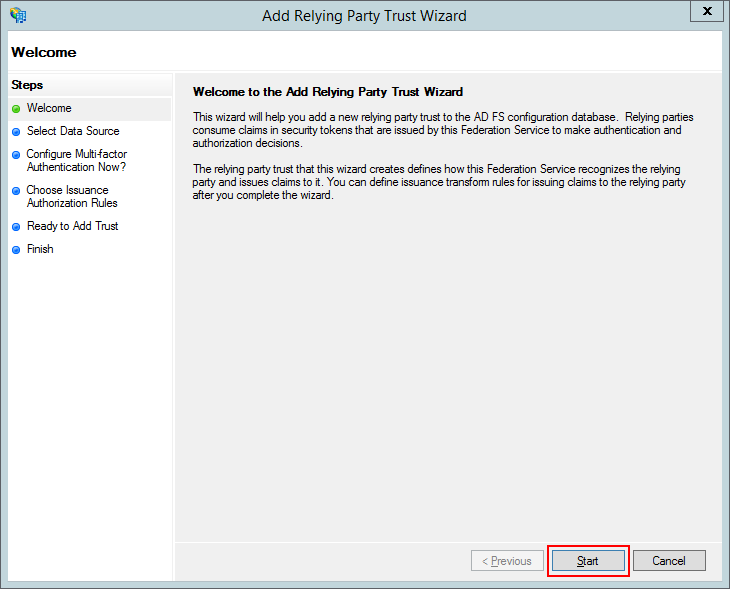
From the AD FS Management screen, go to AD FS ➜ Trust Relationships ➜ Relying Party Trusts and click Add Relying Party Trust…

Click Start
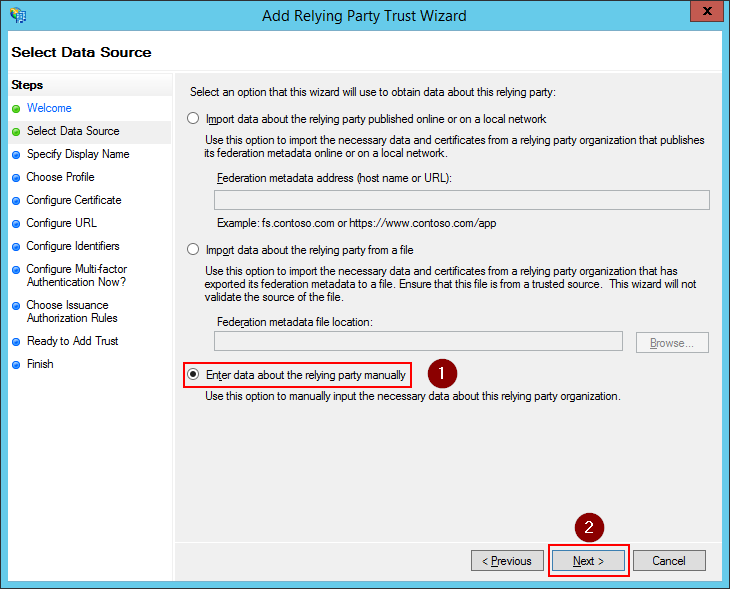
Select Enter data about the relying party manually and click Next
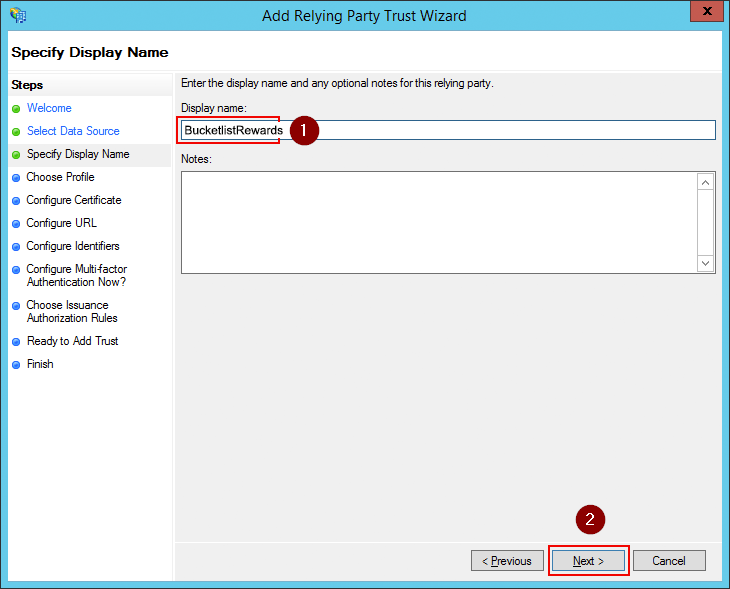
Enter a display name for the relying party and click Next.
Select AD FS profile and click Next

Leave everything empty click Next

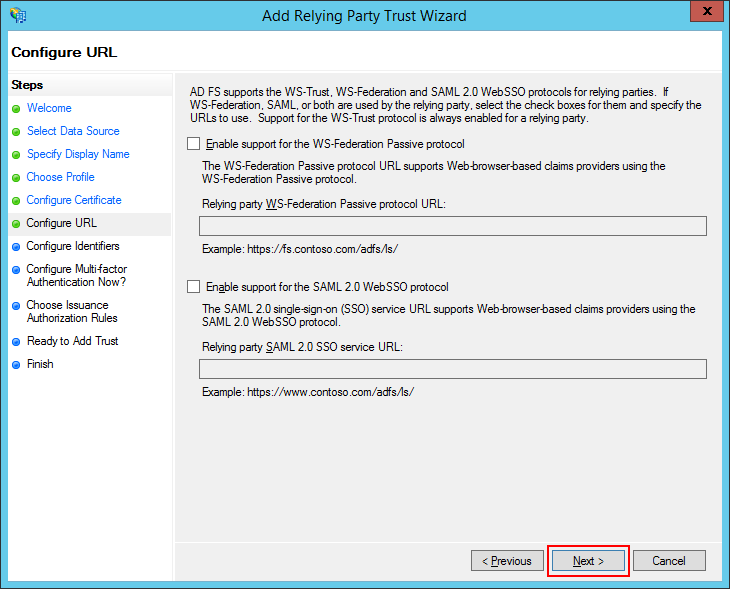
We don’t need WS-Federation or SAML support so leave everything empty and click Next
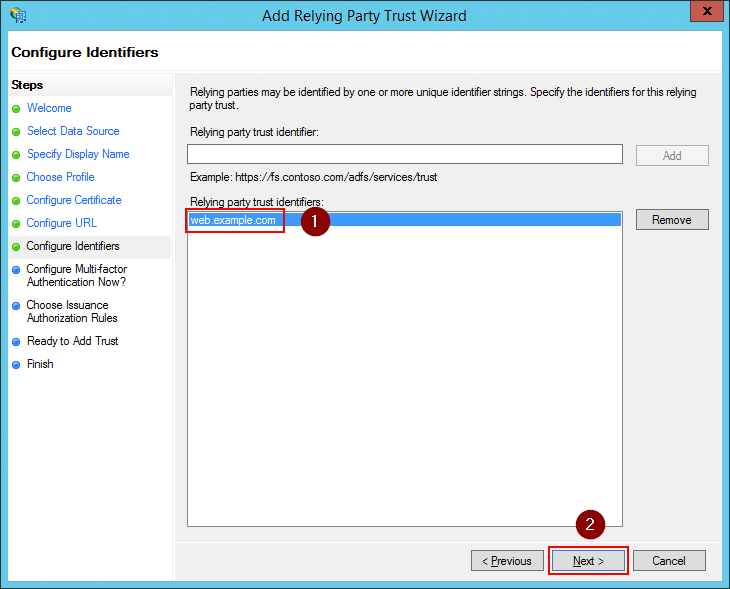
Enter a relying party trust identifier and click add. For example, https://<company-name>.bucketlist.org. Note that if your BucketlistRewards platform is on bucketlistrewards.ca, you would use https://<company-name>.bucketlistrewards.ca.
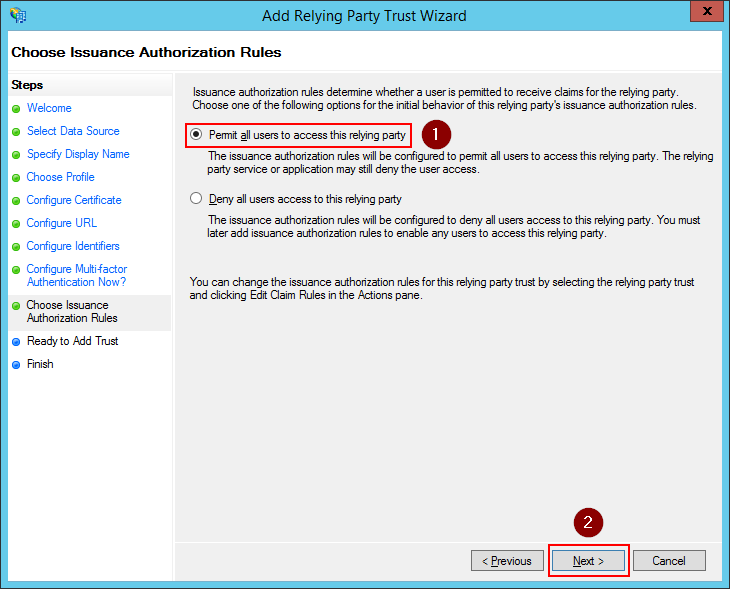
Select I do not want to configure… and click Next.
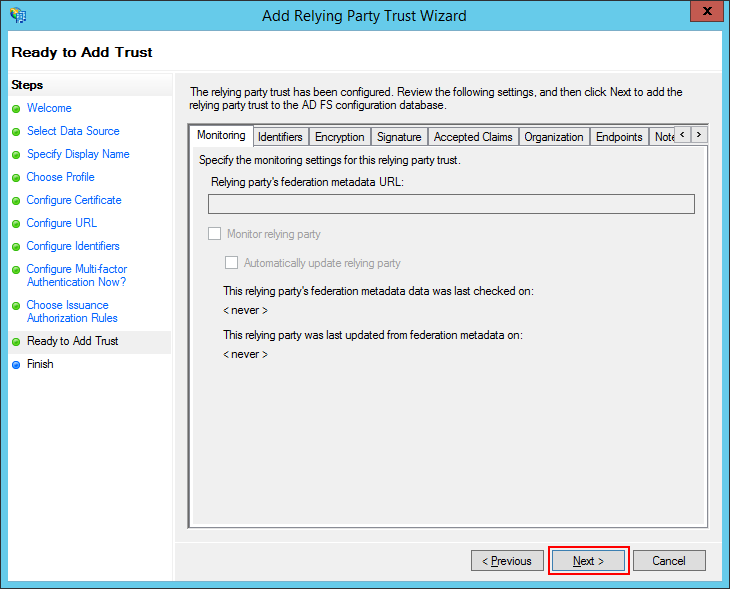
Review the settings and click Next to create the relying party.
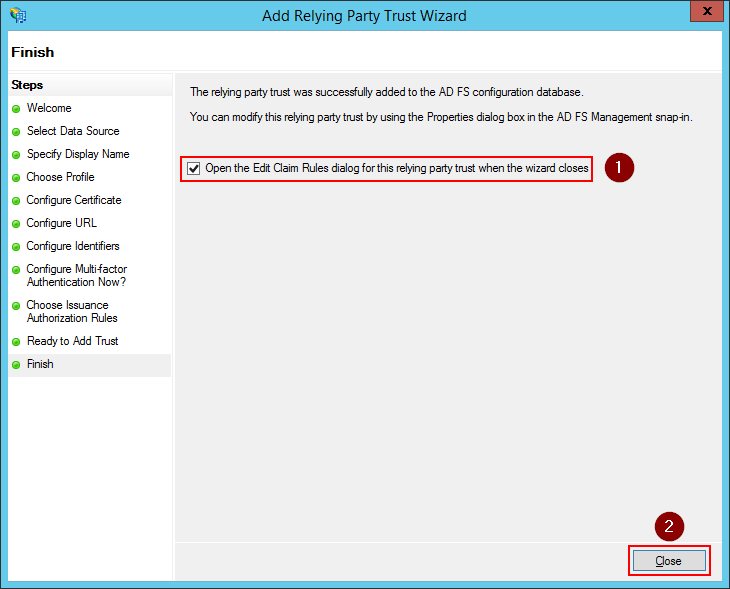
Check Open the Edit Claim Rules dialog… and click Close
Step 2 - Configuring Claims
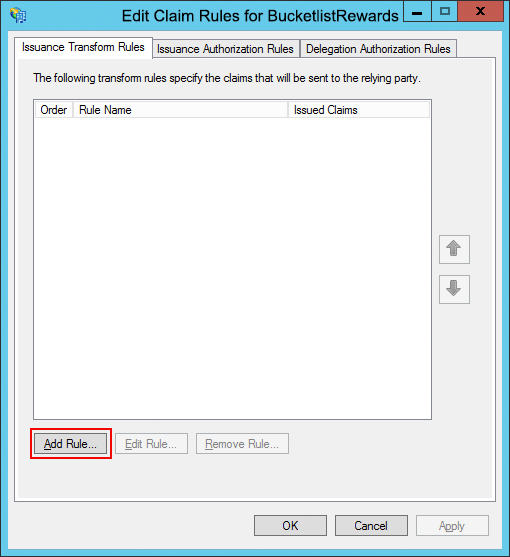
If you selected Open the Edit Claim Rules dialog… while adding a relying party, this screen will open automatically. Else you can open it by right clicking the relying party in the list and select Edit Claim Rules…
On the Issuance Transform Rules tab, click the Add Rule button
Select Send LDAP Attributes as Claims and click Next

Give the rule a name and select Active Directory as the attribute store. Then configure the below claims.
| LDAP Attribute | Outgoing Claim Type |
|---|---|
| E-Mail-Addresses | E-Mail Address |
| Given-Name | Given Name |
| Surname | Surname |
| Token-Groups - Unqualified Names | Group |
| SAM-Account-Name | Windows Account Name |
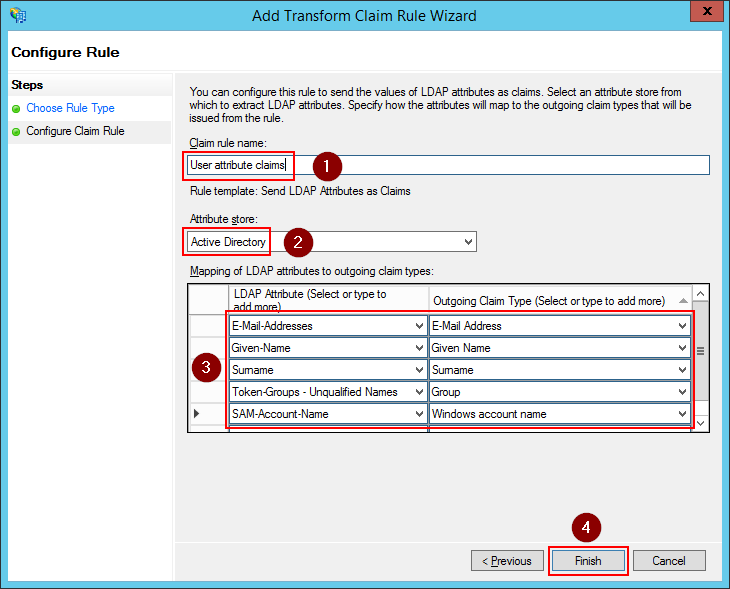
Click OK to save the settings
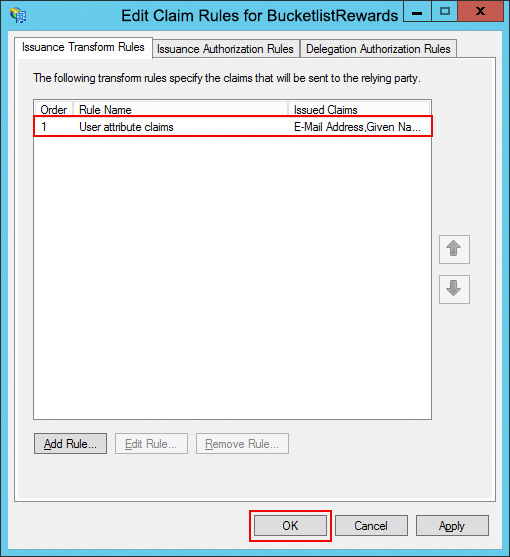
You should now see the rule added. Click OK to save the settings.
Step 3 - Add an ADFS client
While the previous steps could be done via the GUI, the next step must be performed via PowerShell.
Pick a value for the following fields.
| Name | Example value |
|---|---|
| Name | BucketlistRewards OAuth2 Client |
| ClientId | 487d8ff7-80a8-4f62-b926-c2852ab06e94 |
| RedirectUri | https://<company-sub-domain>.bucketlist.org/adfs-oauth2/callback |
Now execute the following command from a powershell console.
PS C:\Users\Administrator> Add-ADFSClient -Name "BucketlistRewards OAuth2 Client" `
                                          -ClientId "487d8ff7-80a8-4f62-b926-c2852ab06e94" `
                                          -RedirectUri "https://<company-sub-domain>.bucketlist.org/adfs-oauth2/callback"
Step 4 - Determine configuration settings
Once everything is configured, you can use the below PowerShell commands to determine the value for the settings of this package. The <<<<<< in the output indicate which settings should be communicated to BucketlistRewards.
PS C:\Users\Administrator> Get-AdfsClient -Name "BucketlistRewards OAuth2 Client"

RedirectUri : {https://web.bucketlist.org/oauth2/callback}
Name        : BucketlistRewards OAuth2 Client
Description :
ClientId    : 487d8ff7-80a8-4f62-b926-c2852ab06e94      <<< CLIENT_ID <<<
BuiltIn     : False
Enabled     : True
ClientType  : Public

PS C:\Users\Administrator> Get-AdfsProperties | select HostName | Format-List

HostName : adfs.example.com      <<< SERVER <<<

PS C:\Users\Administrator> Get-AdfsRelyingPartyTrust -Name "BucketlistRewards" | Select Identifier | Format-List

Identifier : {web.example.com}      <<< RELYING_PARTY_ID and AUDIENCE <<<
Enabling SSO for other browsers
By default, ADFS only supports seamless single sign-on for Internet Explorer. In other browsers, users will always be prompted for their username and password.
To enable SSO also for other browsers like Chrome and Firefox, execute the following PowerShell command:
[System.Collections.ArrayList]$UserAgents = Get-AdfsProperties | select -ExpandProperty WIASupportedUserAgents
$UserAgents.Add("Mozilla/5.0")
Set-ADFSProperties -WIASupportedUserAgents $UserAgents
After that, restart the ADFS service on every server in the ADFS farm.
For firefox, you’ll also have to change its network.automatic-ntlm-auth.trusted-uris setting to include the URI of your ADFS server.