-4.png?width=300&height=97&name=bucketlist-full-logo%20(2)-4.png)
For Platform Administrators:
This article is intended for Bucketlist platform administrators. If you are an employee or end-user, some features or settings described here may not be available to you.
Information needed to complete the integration:
- Identifier (Entity ID): https://company-subdomain.bucketlist.org/saml2/metadata/
- Reply URL (Assertion Consumer Service URL): https://company-subdomain.bucketlist.org/saml2/acs/
- Name ID Format: Email Address
- Application Username: Email
- Attribute Mappings:
- mail -> user.mail (Name Format: Unspecified)
- cn -> user.givenname (Name Format: Unspecified)
- sn -> user.surname (Name Format: Unspecified)
Information required to provide BucketlistRewards
- Metadata in XML
Once you provide XML metadata, request Bucketlist product team to enable SAML SSO for the company.
Step by step guide for Azure AD
This guide was last updated on November 18, 2022. The screenshots or steps may change over the time.
- Log into your Azure portal as an admin: https://portal.azure.com/
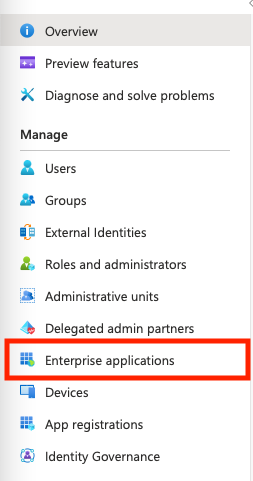
- Select "Azure Active Directory" from Azure services ribbon.

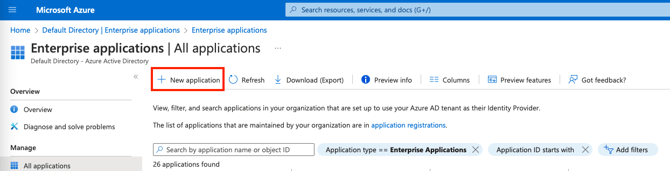
- Select "Enterprise applications" from left menu
- Click on "New Application" from top menu
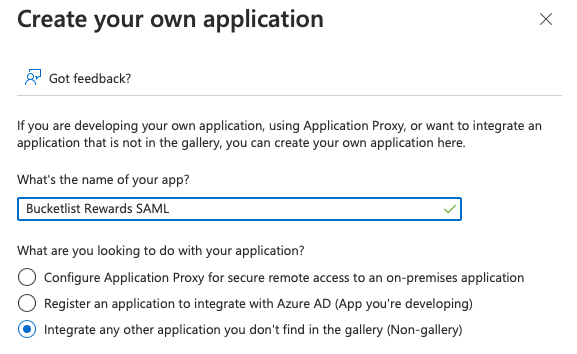
- Click on "Create your own application" button from the top menu
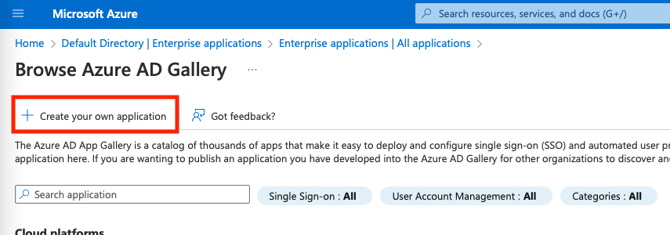
- Enter a suitable application name e.g. "Bucketlist Rewards SAML" and select the radio input "Integrate any other application you don't find in the gallery (Non-gallery)" and click the "Create" button.
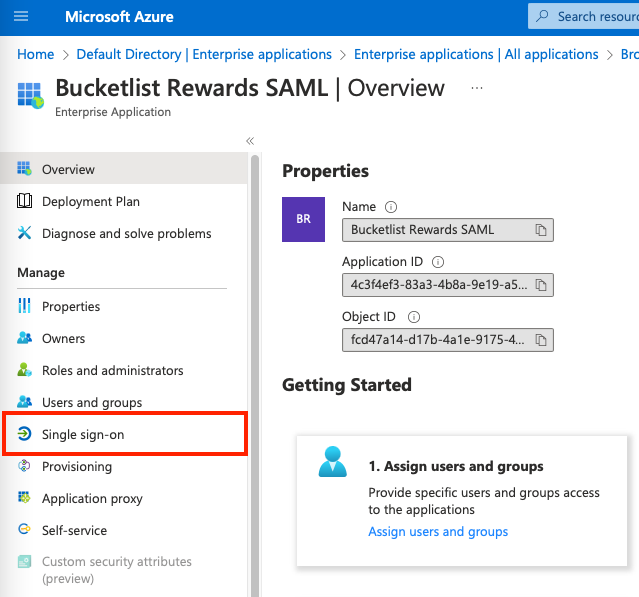
- Select "Single sign-on" from left menu.
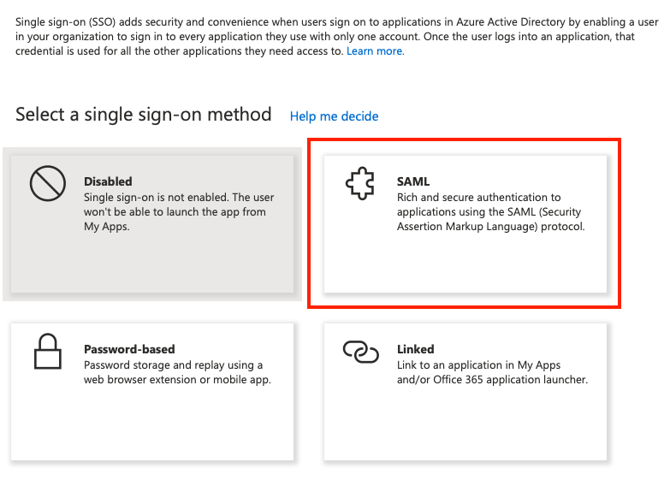
- Select the single sign-on method "SAML".
- Click the "Edit" button to start configuring SAML
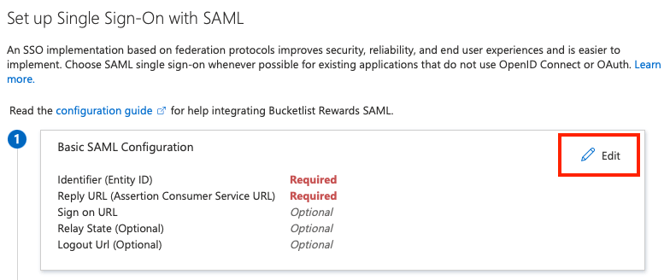
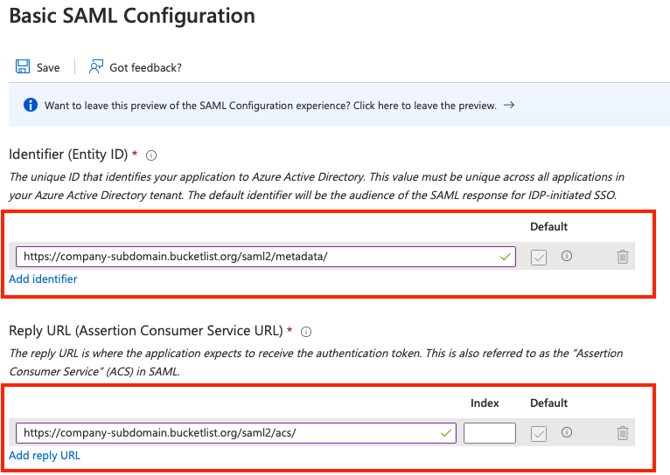
- Fill in the identifier & reply url fields as follows:
- Identifier (Entity ID): https://company-subdomain.bucketlist.org/saml2/metadata/
- Reply URL (Assertion Consumer Service URL): https://company-subdomain.bucketlist.org/saml2/acs/
- Click "Save" button to save the basic configuration and close the popup.
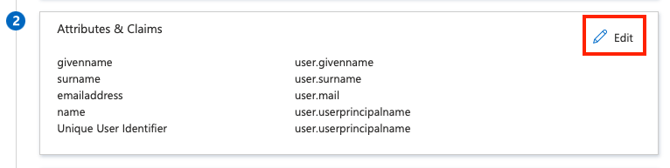
- Now click "Edit" button in "Attributes & Claims" panel.
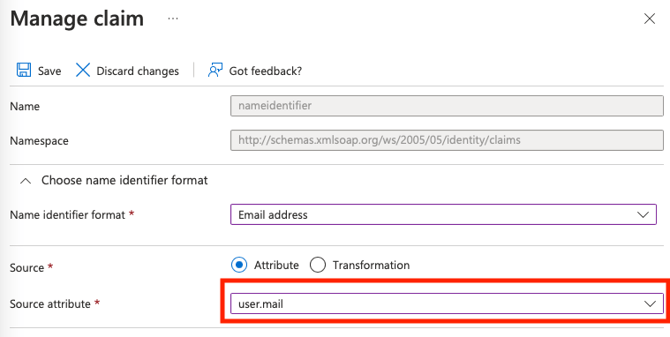
- Click "Unique User Identifier (Name ID)" and change its "Source attribute" to "user.mail". Click Save.
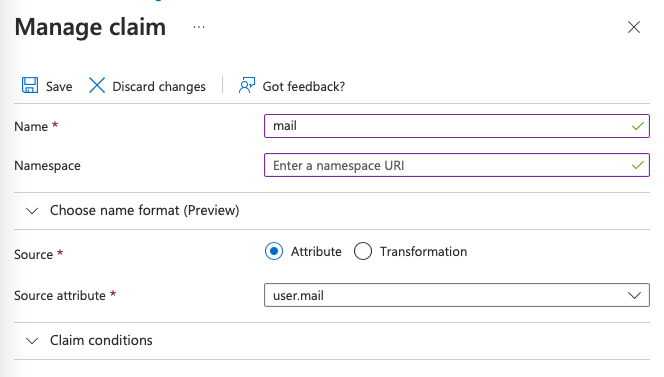
- Click each claim one by one and update claim names as follows and save the changes:
(Important: Please remember to clear the namespace field)
- user.givenname -> cn
- user.surname -> sn
- user.mail -> mail
- After saving all claims, the updated claim mapping should look like this:
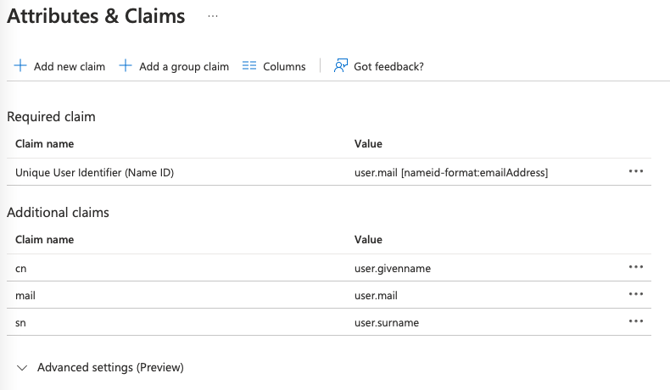
(You can remove any additional claims as they are not required) - Click "Edit" in "SAML Certificates" panel
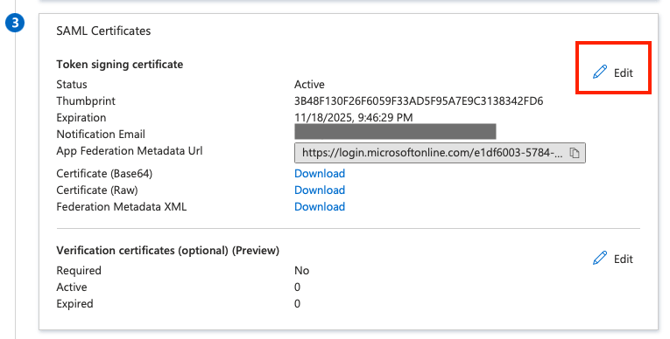
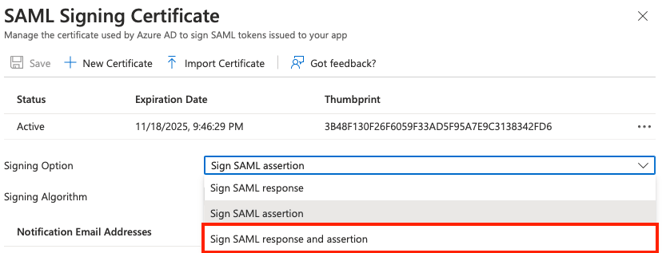
- Select the "Signing option" "Sign SAML response and assertion" and click save
- Find the "Download" link in front of "Federation Metadata XML" in "SAML Certificates" panel and download the metadata file.
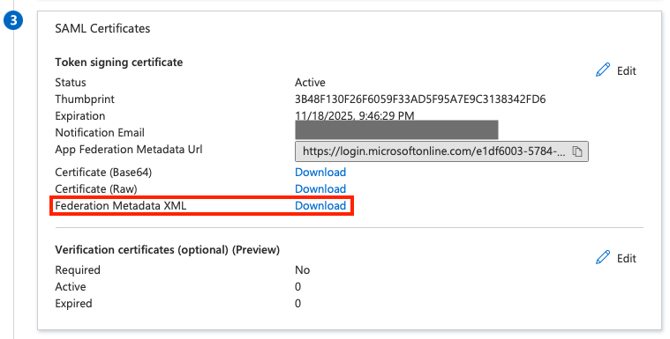
- Share the downloaded metadata with the Bucketlist team.
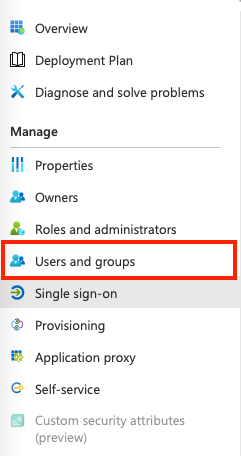
- Select on "Users and Groups" from left menu and assign user or groups as per your company policy.